Getting started with Couch Amp
Couch Amp finds your receiver on its own. On first launch the app scans your network for both modern (Audio Control API) and classic (External Control) Sony receivers and lists everything it finds, newest first.
Before you scan
- Put your phone on the same Wi-Fi network as the receiver.
- Make sure External Control is On at the receiver:
- Current models: Setup → Network Settings → External Control
- Older ES models: Setup → Install Setup → External Control
- That’s it — no account, no cloud, no pairing codes.
Scanning
Open the gear tab and tap Find / Switch Receiver. The scan sweeps your subnet (and the subnet of any receiver you’ve used before) and labels each result:
- NEW API — a modern receiver with the full Couch Amp feature set
- LEGACY — a classic STR-DA / STR-ZA receiver (power, volume, inputs, zones)
Tap a result to connect. Couch Amp remembers every receiver you’ve used, so switching between them later is one tap.
Manual entry
If the scan can’t reach your receiver (different subnet, VLANs, etc.), type its IP address in Connect by IP address and tap Connect. The receiver shows its own IP under Setup → Network Settings. Connecting adds it to your receivers list like any scanned result.
Authentication (pre-shared key)
Modern Sony receivers can require a password for network control — the IP Control authentication setting on the receiver, which apps send as a pre-shared key with every request. Most receivers ship with it off, and Couch Amp checks for you: the Authentication section of the Find Receiver screen probes the connected receiver and shows one of:
- Auth off — the receiver accepts commands without a key. Leave the field empty.
- Key required — the receiver rejects unauthenticated requests. Enter the same pre-shared key you set on the receiver and tap Save Key.
- Unknown — the receiver couldn’t be reached to check.
The saved key is sent with every request to whichever receiver you connect to, and saving it reconnects immediately — so if the faceplate comes alive after Save Key, you’re in. Classic (External Control) receivers have no key; the section doesn’t apply to them.
One app, both platforms
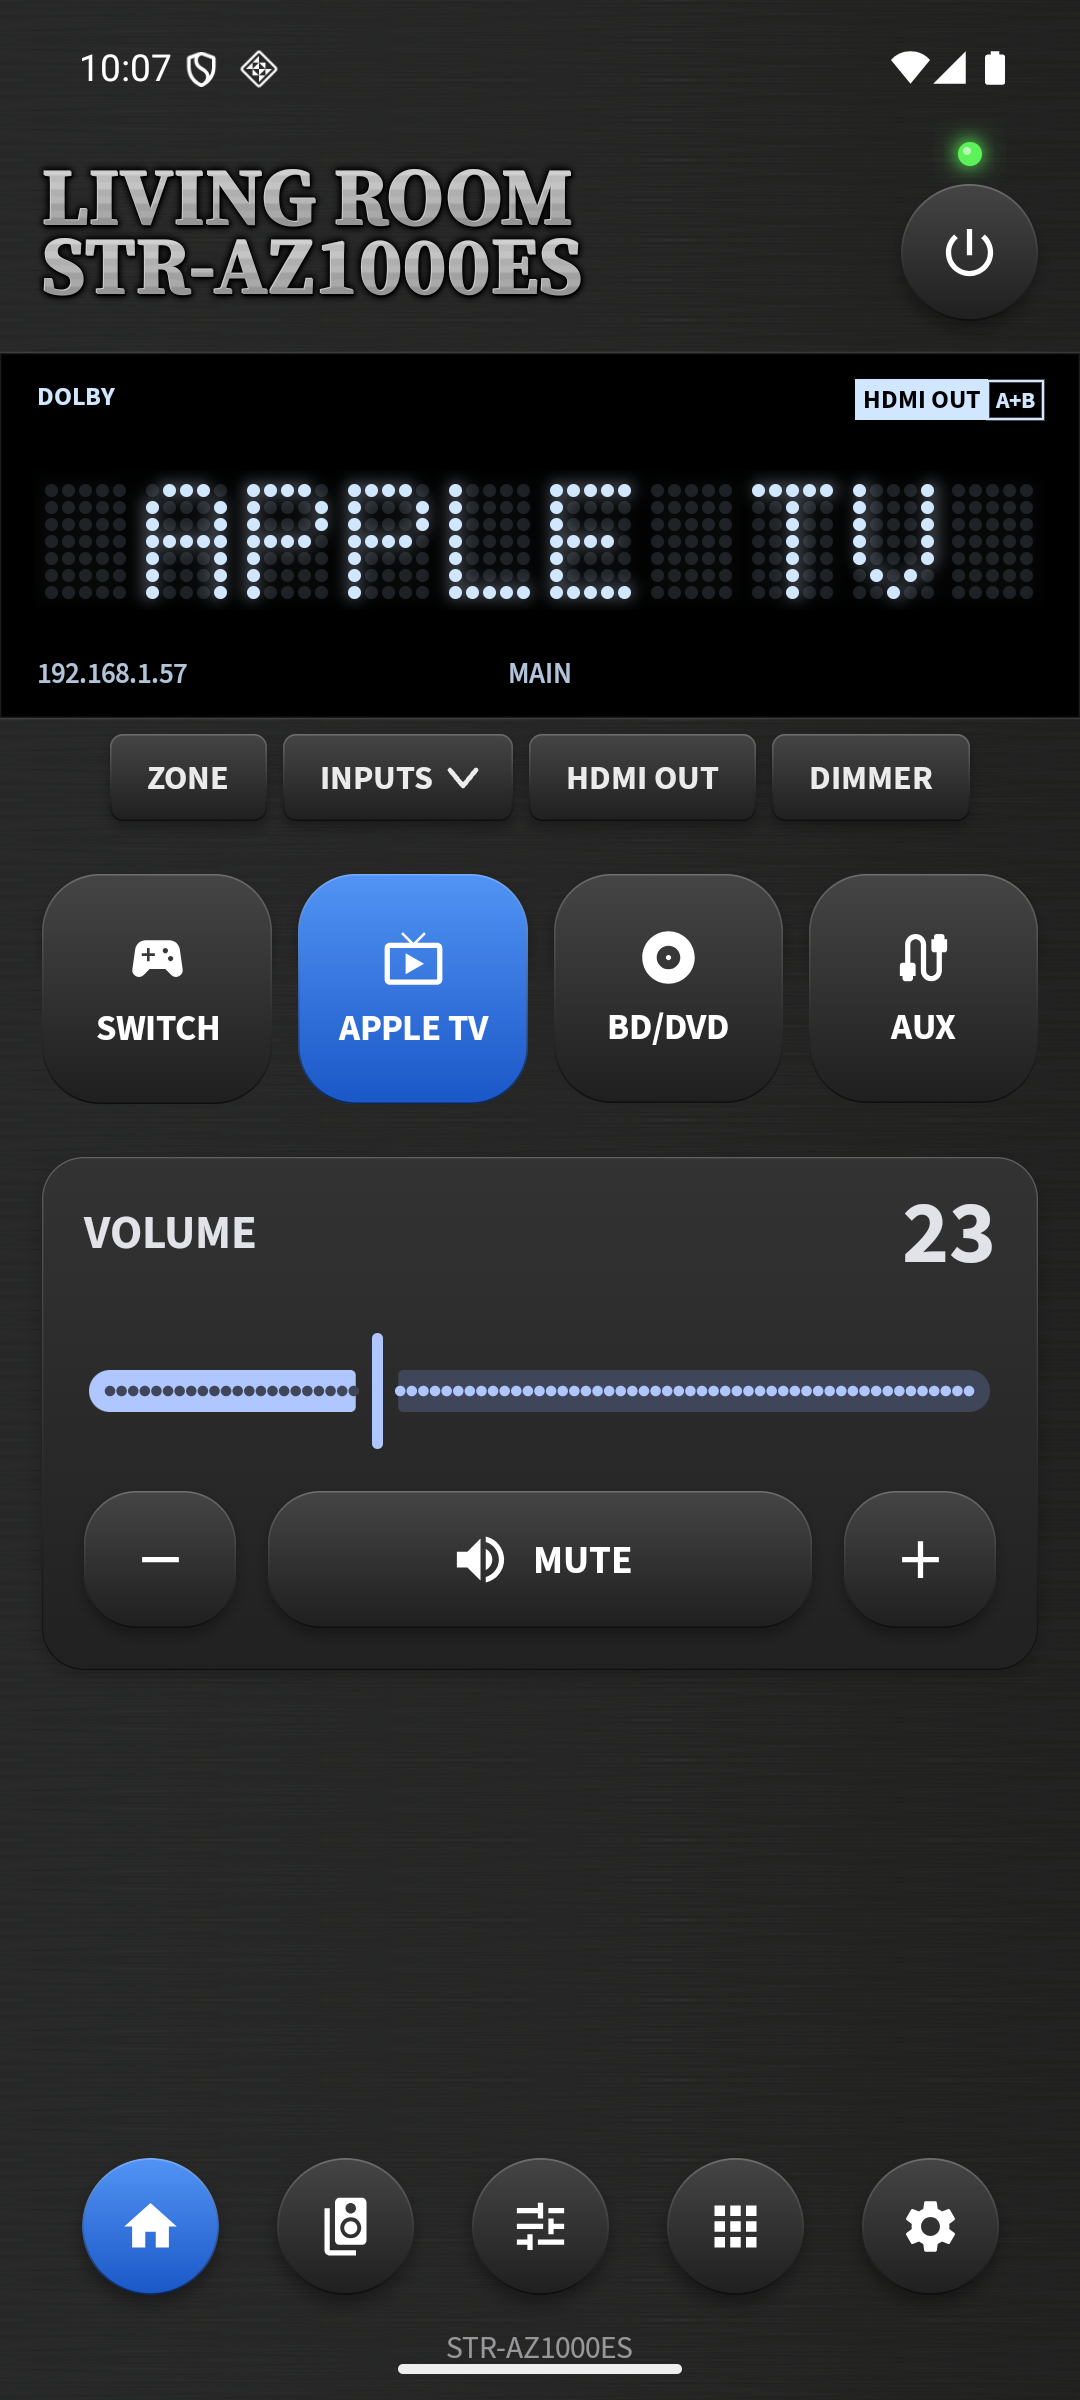
Couch Amp is the same native app on iPhone and Android — same faceplate, same features, connected to the same receiver.